Your cart is currently empty!
Waist Deep in Crappie

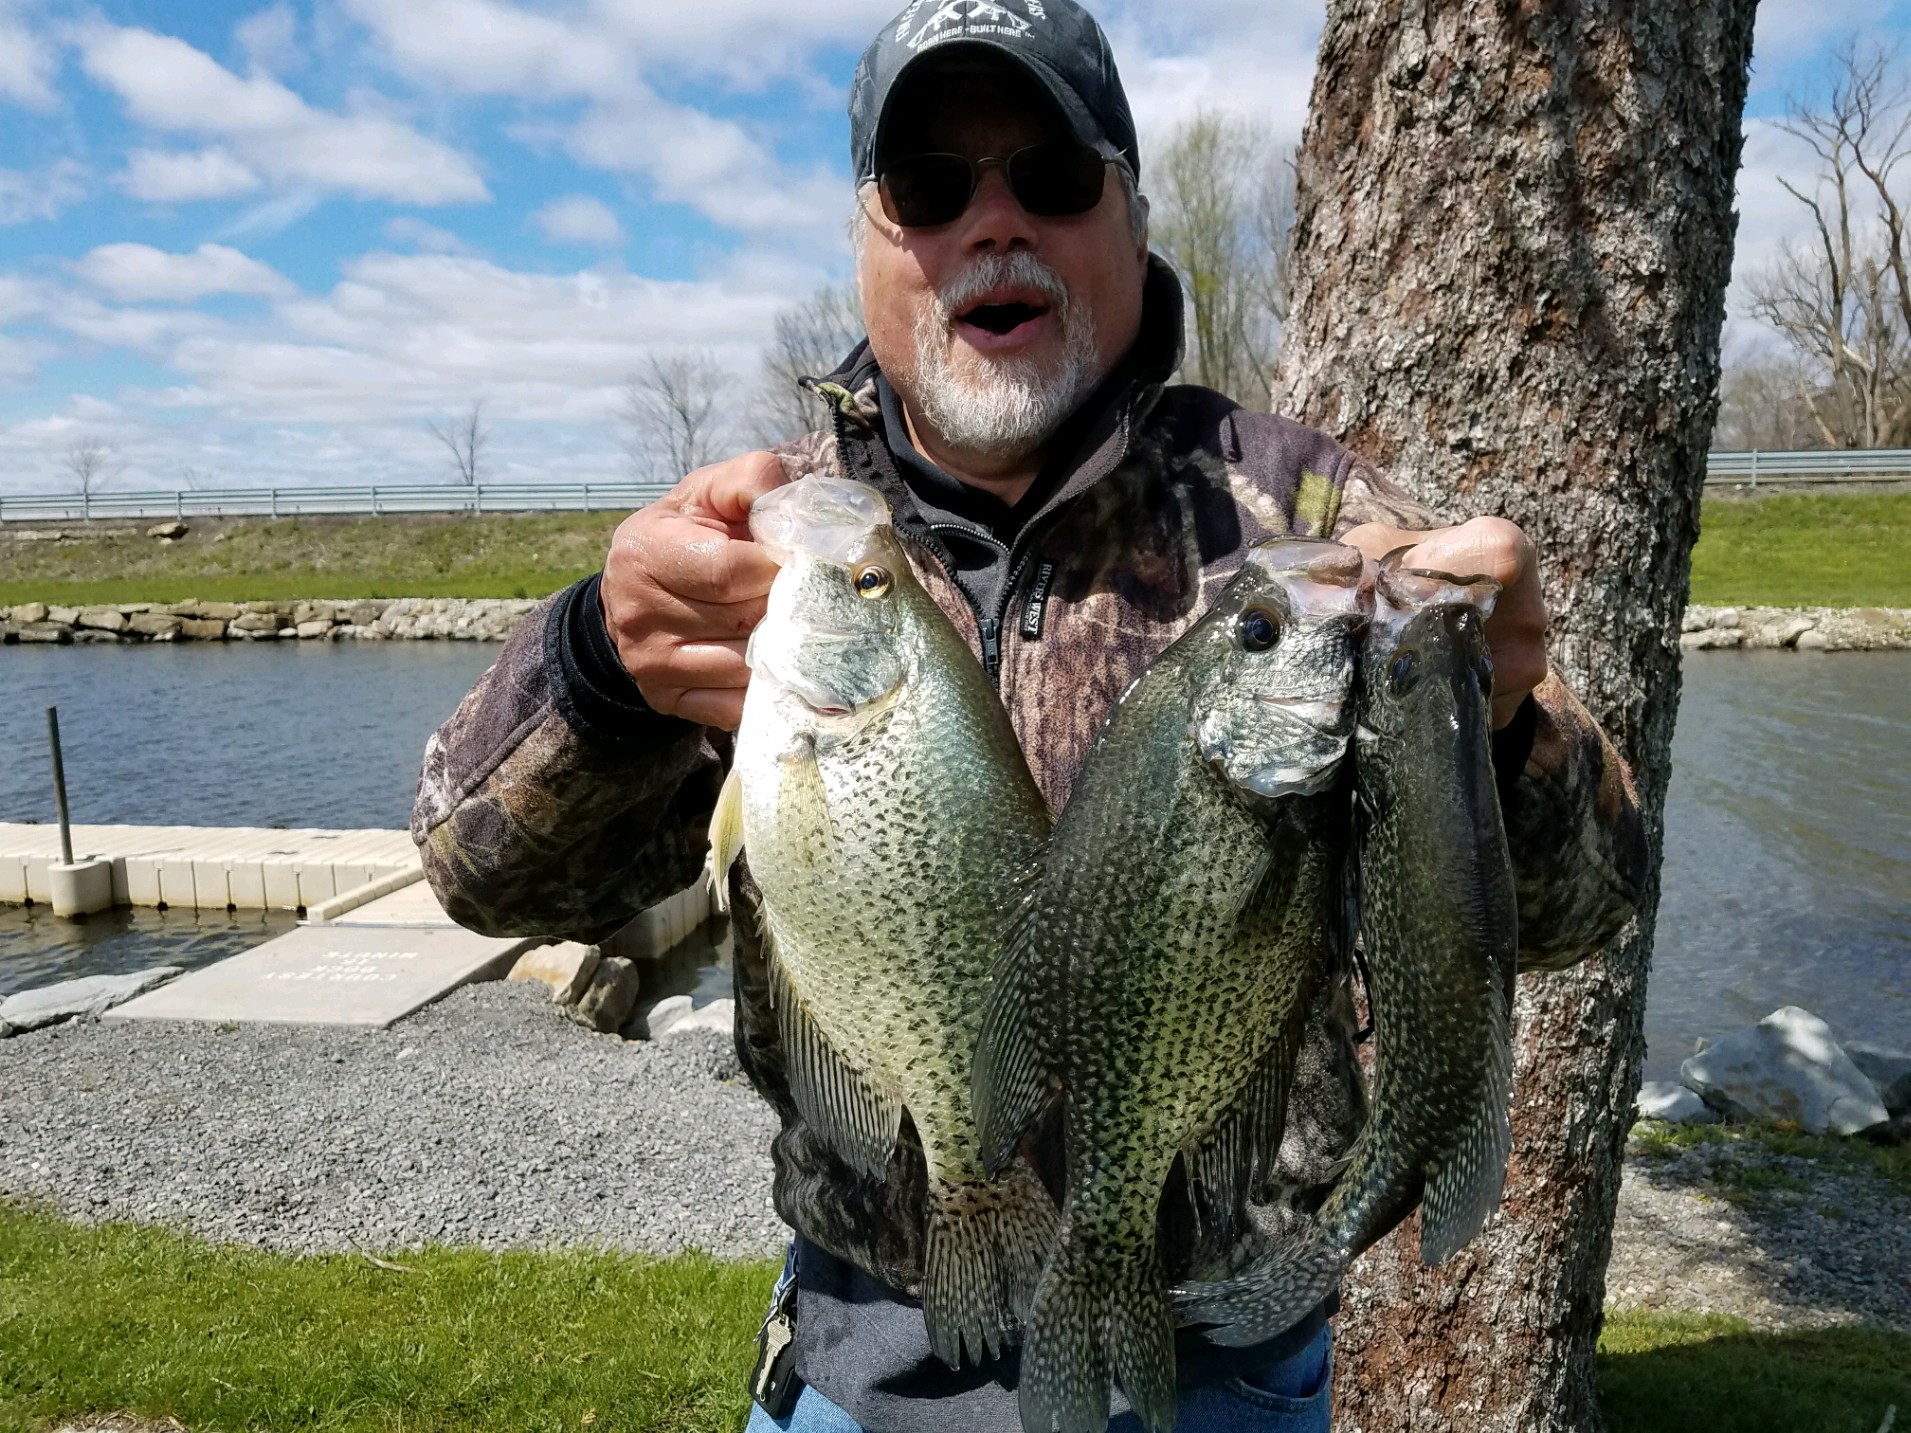
Bill Phillips is a long time friend and great fisherman. He was a regular on the Buckeye Crappie Challenge trail, and has fished many national tournaments. He is currently a very active member of the Northeast Ohio Crappie Club. Hope you enjoy this article he has written for Brushpile Fishing! Thanks buddy! –Russ—
Wading is by far my favorite way to fish for Spring Crappie. I believe it to be an effective and enjoyable method to take lots of big fish when they move deep into cover. Admittedly, the odds are usually with the fish. Regardless, the insane number of bites makes it all worthwhile.
Being able to slowly sneak up on your prey offers a perspective not presented when in a boat. Definitely a bad deal while floating the surface, a wind blowing directly towards the shoreline is preferred when wading. Letting your bait naturally drift into cattails or buck brush is guaranteed to get your heart pounding as you patiently wait for the bobber to disappear into the thick mass of tangled undergrowth.
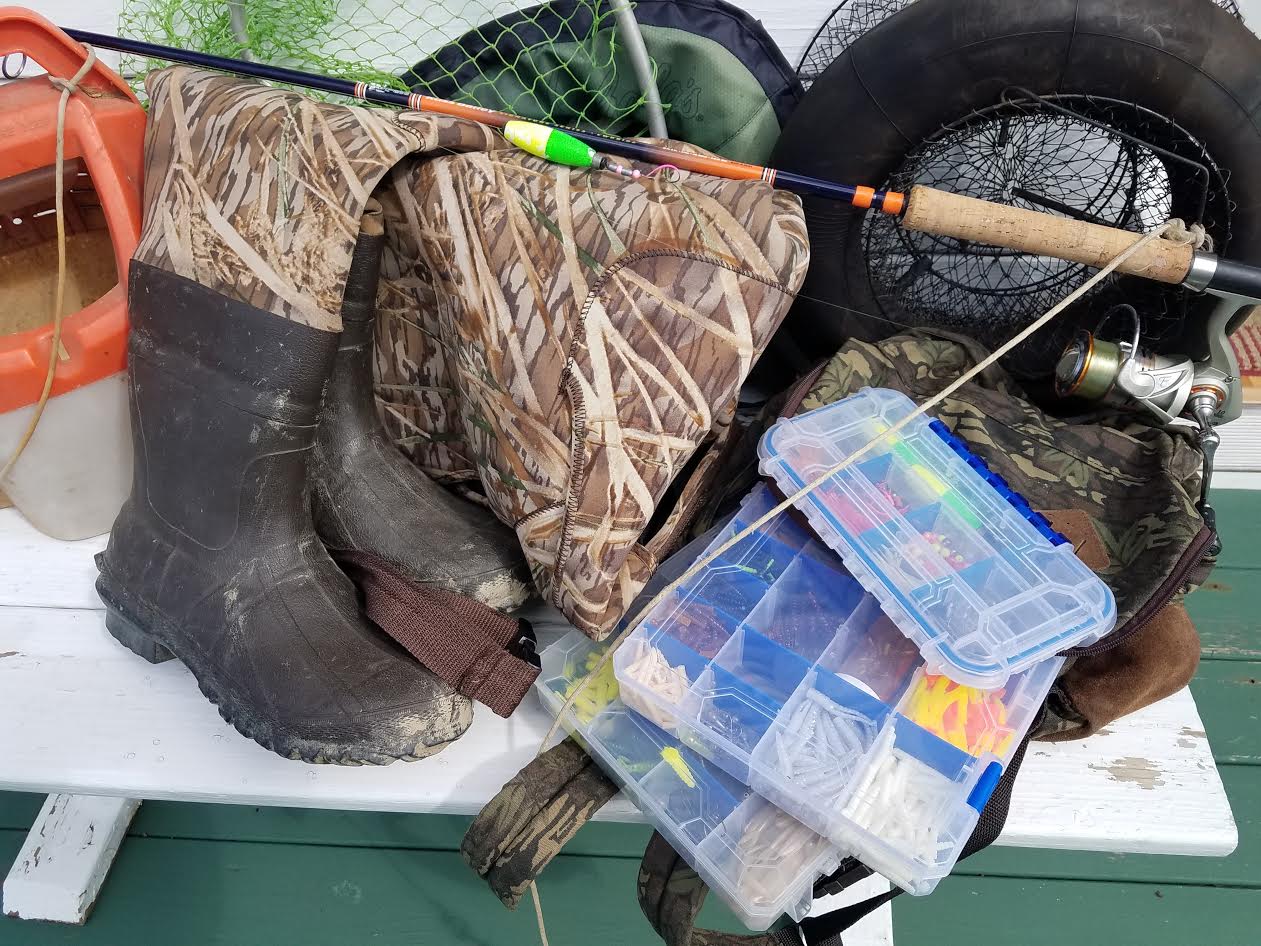
Throw on a pair of hip boots or chest waders and take a dip into your favorite shallow bay. I recommend you bring a short landing net like the Trout Guys use, a small fish basket that floats and a floating minnow bucket. I tie all this to a nylon belt clipped around my waist so I have immediate access to everything as I move through the water. A snug belt will also keep you moderately dry should you trip and fall. Carry all your extra tackle in a bag over your shoulder or in a backpack.
I top off my wading ensemble with a life vest as I expect to encounter submerged stumps or sharp unexpected drop offs into deeper water. I suggest you get a camouflage inflatable model if you are concerned about maintaining your Manly Image.
An 8’ to 12′ medium action Spinning Rod and Reel spooled up with 6 pound to 10 pound lines will cover most situations. I have had a lot of success with Monofilament since it floats on the surface. Braid works well too. Remember that Fluorocarbon Line sinks and may cause your float to lay on it’s side. Almost any Reel is suitable since its only purpose is to store a few yards of line. The longer fishing rod gives you access to more targets since your presentation is limited to a vertical approach.
I almost always tie on a “Crash Rig” whenever I wade. I call it that because when I drop it into the water it will make enough commotion to bring in the aggressive biters. A noisy entrance gets me consistently more strikes than a quiet approach. Drop this rig into a shady pocket and you will know in a few seconds if anyone is home. This is a great way to hit a lot of openings in the cover quickly, since it seldom takes more than a minute to set the hook or move on. Hook a minnow right behind the top fin, drop it into place, and count to 30. Jiggle the rod tip slightly, count to 30 again and pick another spot. Some days a hand full of soft plastic tubes or grubs will be more effective than live bait. I always carry lots of both to cover most situations.
Every component to the Crash Rig has been chosen to maximize my odds for success. As I mentioned earlier, you can lose a huge amount of fish since it is actually swimming in a jungle of snags.
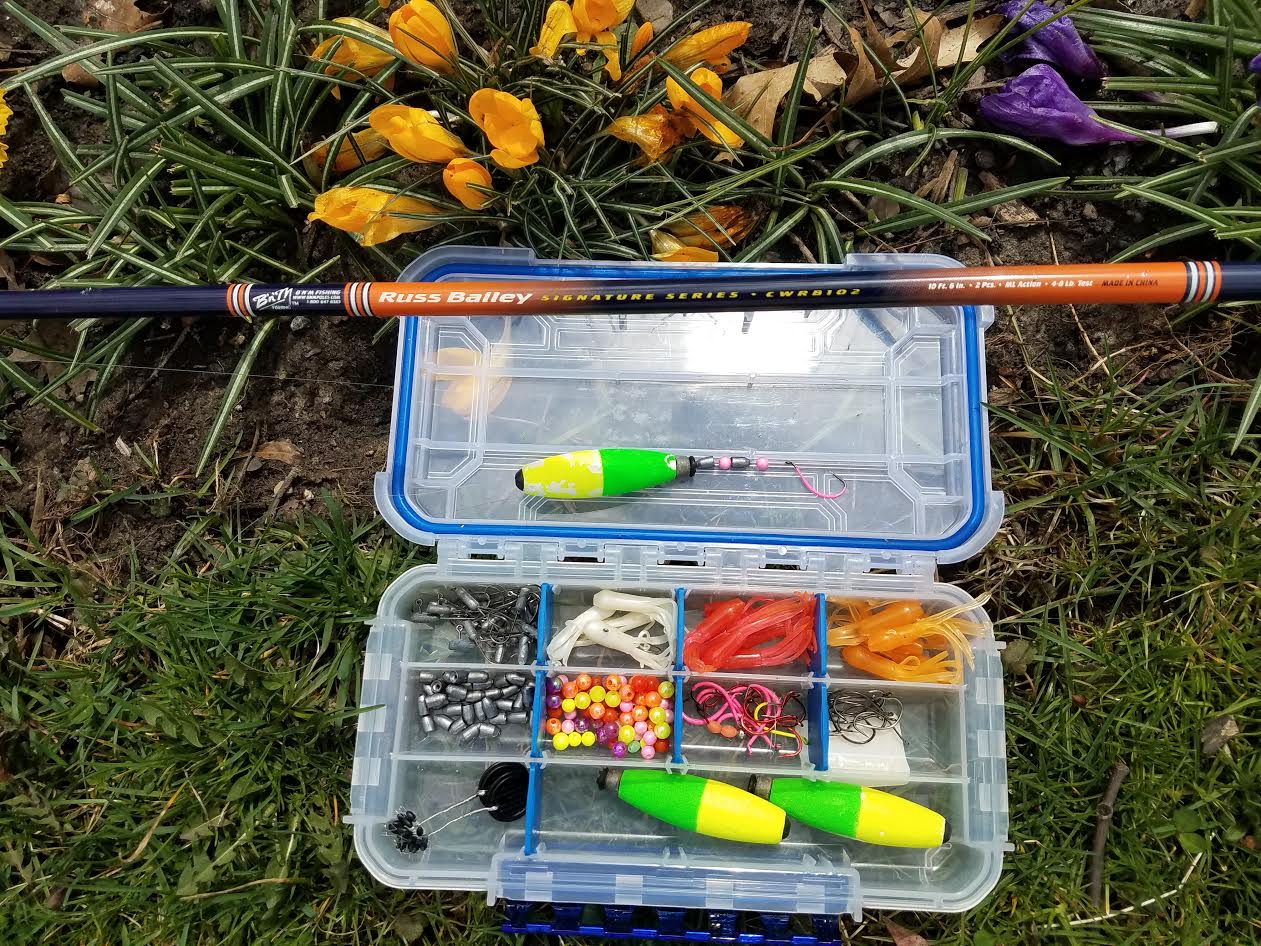
The Crash rig is assembled as follows:

- Begin by attaching a Slip Bobber stop to your line.
- Slide on a Bottom Weighted Slip Float
- A small Bullet Weight (pointing up), Colored Bead, and then a Bullet Weight (pointing down)
- Another Colored Bead
- Finish with a Light Wire Drop Shot type Hook (#4 or #2) tied with a Palomar Knot
I chose this specific combination for the following reasons. First off, the entire rig sits neatly atop the hook while it is dropped into an opening that is seldom larger than a Coffee Cup. The weighted Float provides the noise to attract fish and offsets the need for heavier weights over the hook. Less weight gives the minnow more freedom to swim. The opposing Cone Shaped Weights slide easily in and out of the thick stuff and is less likely to get hung up. Colored Beads help the fish to locate the bait and creates noise when the weights hit it. The short shank hook allows for more natural looking bait and gets snagged less than a lead head jig. In the event of a hang up, you have the option to reel down till the rod tip hits the top of the bobber and push the hook away from the snag or grab the line and pull till the hook straightens to release. Bend the hook back to shape and you are ready to go.
A little bit of experimentation will be required before taking this rig to the Lake. To achieve almost neutral buoyancy it is necessary to match the weights to your float. Too little will leave your Bobber lying on its side, too much will sink it without a strike. Finding the Sweet Spot leaves about half of the Float above the water surface. The slightest hit will be evident. I like at least a 2″ oblong brightly colored bobber for extra visibility.
I find that the hardest part of fishing the Crash Rig is the timing of the hook set. Too soon and you miss the fish sending everything skyrocketing, getting wrapped up on every leaf or stick. Too long and the Crappie will hang you on anything it can find to escape. Waiting until the float is completely out of site works best. The goal is to get the fish to the surface long enough to scoop it into the net if possible. Most of the time you will be doing all you can to grab your Trophy out of the Brush, Cattails, Lily Pads, or Willows before it squirms its way free of the hook. Best success for me has been since I started fishing with a competent wingman. I fight the fish and he lands it. He hooks one and I go in after it. Lots of “remember the time…” moments are created while wading. Always funny when the other Guy stumbles to his knees over some submerged object as well. Fishing with a Friend is safer and more fun for me.
Always remember to carry a pair of needle nose pliers and a sturdy knife close at hand. Dredging the lake bottom with your feet means removing a lot of broken off fishing line and occasionally something sharp enough to stick in your wader. A Wader Patching Kit in your Tackle Pack is usually a good idea too.
The best part of Wading for me is that it allows me to “Stay in the Moment” while fishing. No worrying about Work or Family or Global Pandemics if all my focus is on keeping upright and waiting for that magic moment that a Crappie pulls your cork under and the battle begins.

Having a boat is a plus to quickly move around the lake in search of a shoreline suitable for Wading. The best places to score big will have a hard bottom, no deeper than your waders, but with immediate access to deeper water. Finding their Migration Route from Staging Area to deep Wintering Holes almost always works. Regardless, any stretch of shoreline cover that comes in contact with water needs to be investigated. The more isolated the better. Always be on the lookout for Willows, Buck Brush, Cattails, or Lily Pads. One key point to always remember is that a Shade Pockets will always dictate how you approach all Cover. In fact if shade can be considered a type of cover it would be top of the list in my book!
This brings up a really important point that can easily get overlooked. The most successful Fisherman will always be prepared to alter methods based on what the Fish wants and not on what he believes will catch fish. What worked last year or even yesterday is never a guarantee. Paying close attention to all the details that caught your last fish is essential.
I must also point out that I know quite a lot of Wading Fisherman that will argue that soft plastic baits are equal or even better than live bait presentations. At times I admit this to be true. I too am always prepared to make the switch if the situation arises.
If you have never tried Wading for Crappie in the spring, you may be missing out on a truly memorable experience! Take my advice and try it. Bet you won’t be disappointed.
-William Phillip
